OfficeTips Home || VBA Section || General Section || Download Section || Privacy Policy Bookmark and Share
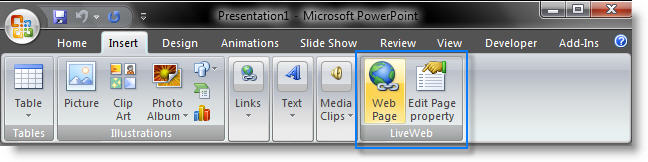
LiveWeb - insert and view web pages real-time.

Note: OfficeTips is moving to a new domain - http://www.skphub.com

Use LiveWeb to insert web pages into a PowerPoint slide and refresh the pages real-time during slide show. Display web pages without ever leaving the confines of your PowerPoint slide show. No coding required.  LiveWeb works with documents off your local drive too. You can specify relative paths. LiveWeb will also look for files in the presentation folder if the files have local drive information and cannot be located at the location specified by the user during slideshow. LiveWeb encapsulates the need to insert a web browser control manually and write code to update the web pages within the control during the slide show. It consists of two components.
1. Wizard component - Create a list of web sites which you wish to add to the slides.
2. Real-time update component - Automatically refreshes the page every time you visit the slide which contains the web browser control.

With LiveWeb you can display acrobat documents (PDF) , java applets, VRML etc within the slide show real-time. Please visit: LiveWeb FAQ

New in version 4.0 for PPT 2007 and later

- Set the zoom level on the browser page.

- Scripting error suppression.

To purchase the source code for LiveWeb for commerical branding email .

If you enjoy using my free addins, consider donating. Donations help keep the new add-ins, updates coming and help pay for the time spent maintaining and improving the software. Donations are entirely voluntary. But every donation is greatly appreciated.

Dmifit Tool And Hpbq138.exe Download
Dmifit Tool And Hpbq138.exe Download  

Dmifit Tool And Hpbq138.exe !full! Download Instant

Guide: HP DMI Fit Tool and HPBQ138.exe

Execute

: At the DOS prompt, type HPBQ138.exe and press Enter to launch the interface.

  1. Create Bootable DOS Drive: Use Rufus. Select "FreeDOS" as the boot option.
  2. Copy Files: Extract your verified SoftPaq directly to the USB root. You should see folders like DOS, DMI, and files like Hpbq138.exe.
  3. Boot the Target PC: Restart the HP computer and press F9 for Boot Menu. Select the USB drive.
  4. Run the Tool: At the DOS prompt (C:\>), navigate to the DMI folder. Type:
    hpqdmi.bat
    
    or
    dmifit.exe /i
    
  5. Enter Data: The tool will prompt you:
    1. Verify authenticity: Ensure that you download the tool and executable file from the official HP website or trusted sources to avoid malware or viruses.
    2. Use with caution: Modifying hardware settings and BIOS configurations can potentially cause system instability or damage. Use the tool and executable file with caution and at your own risk.

    Prepare a Bootable Drive:

    Use a tool like Rufus to create a bootable FreeDOS USB drive. Dmifit Tool And Hpbq138.exe Download

    Boot to DOS

    : Restart your laptop, press F9 for the Boot Menu, and select your USB drive. Guide: HP DMI Fit Tool and HPBQ138

    • Product Name/Number: Ensures the laptop identifies itself correctly (e.g., identifying as an "HP EliteBook 840 G6" rather than a generic board).
    • Serial Number: Critical for warranty tracking and BIOS updates.
    • SKU Number: Determines region and specific hardware configurations.
    • UUID: The Universally Unique Identifier for the machine.
    • CT Number: Chassis Tracking number.

Copyright 1999-2016 (c) Shyam Pillai. All rights reserved.